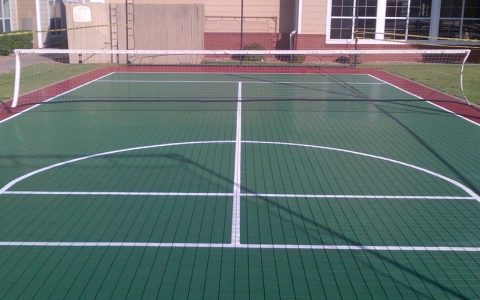
A portable tennis court is a temporary, transportable playing surface designed to create a functional tennis court on various flat terrains like driveways, event spaces, gym floors, or even grass fields. It typically consists of interlocking tile panels or roll-out synthetic turf systems. These systems replicate the bounce and playability of permanent courts without requiring fixed installation.
Key Benefits of Portable Tennis Courts
- Accessibility & Convenience: Play tennis almost anywhere with a suitable flat surface. No need to travel to club courts.
- Space Efficiency: Ideal for areas where building a permanent court is impossible due to space limitations.
- Cost-Effectiveness: Significantly lower upfront investment compared to constructing a permanent asphalt or acrylic court.
- Quick Setup & Teardown: Panels or turf can be assembled and disassembled relatively quickly by small teams or even individuals.
- Minimal Site Preparation: Requires only a reasonably level and stable base (concrete, asphalt, compacted gravel, firm grass), avoiding complex groundworks.
- Reusability & Portability: Systems can be packed up, transported, and reinstalled in different locations multiple times.
- Beginner-Friendly Surface: Offers consistent bounce and predictable ball behavior, often with more grip than hard courts, helping new players develop strokes.
- Versatility: Many systems support other net sports like pickleball or badminton.
Beginner Setup Guide
Setting up a standard portable tile court system (most common type):
- Site Preparation: Select a flat area (check with a level). Clear it thoroughly of all debris, stones, and sharp objects. Ensure the ground is firm (concrete/asphalt is ideal; compacted dirt/gravel or very short, firm grass may work).
- Lay Foundation (Optional but Recommended): Roll out a geotextile or woven underlayment fabric over the entire court area. This prevents weed growth, protects the tiles, and provides a smoother base.
- Layout Starting Point: Identify one corner. Begin placing interlocking tiles there, ensuring the locking mechanisms are aligned correctly.
- Assembly: Connect tiles row by row. Interlock the edges firmly by pressing down and sometimes using a rubber mallet gently on the edges. Stagger the tiles like brickwork for stability.
- Cover the Entire Area: Continue assembling until the entire court outline (e.g., 60' x 120' for full doubles, smaller for practice) is filled. Cut perimeter tiles if necessary using a utility knife or saw (follow manufacturer instructions).
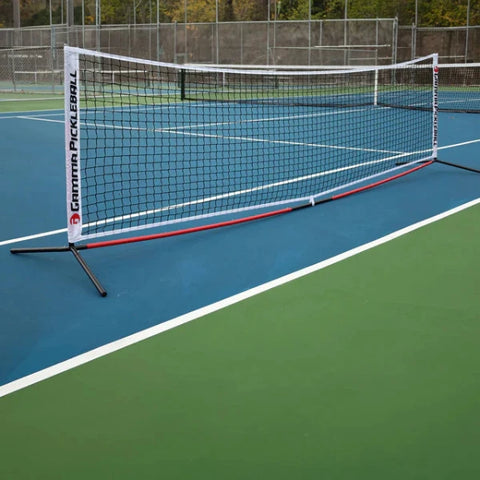
- Net Assembly: Assemble the net posts according to the manufacturer's guide. Anchor posts securely using provided ground anchors or sand/water bases. Attach the net to the posts at the regulation height (3 feet at center).
- Final Check: Walk the entire court surface. Ensure all tiles are fully interlocked, stable, and lie flat. Confirm the net is taut and at the correct height.
Key Considerations for Beginners: Always follow the specific instructions provided by the portable court manufacturer. Use proper footwear. Start with a smaller court size for practice if needed. Ensure the chosen location has no overhead obstructions. Focus on a stable base for consistent play.