Installing a spiral staircase requires precision to ensure safety and functionality. Follow these critical steps for optimal results.
Pre-Installation Preparation
Verify structural requirements: Confirm floor/ceiling load capacity meets manufacturer specifications, typically 1,000 lbs minimum. Calculate exact floor-to-floor height using a laser measure for center pole customization.
Permit acquisition: Consult local building codes for tread depth (≥7.5" at 12" from narrow end), head clearance (≥6.5'), and required landing space before submitting permit applications.
Tool & Material Essentials
- Rotary hammer drill with masonry bits (for concrete anchors)
- 1000-lb rated laser level
- Metric socket set (M10/M12 hex bolts)
- Industrial-grade shims
- Manufacturer-supplied mounting brackets
Core Installation Sequence
Center pole alignment: Anchor baseplate to substrate using expansion bolts, maintaining ≤1/8" vertical deviation across full height. Verify plumb with 360° laser checks.
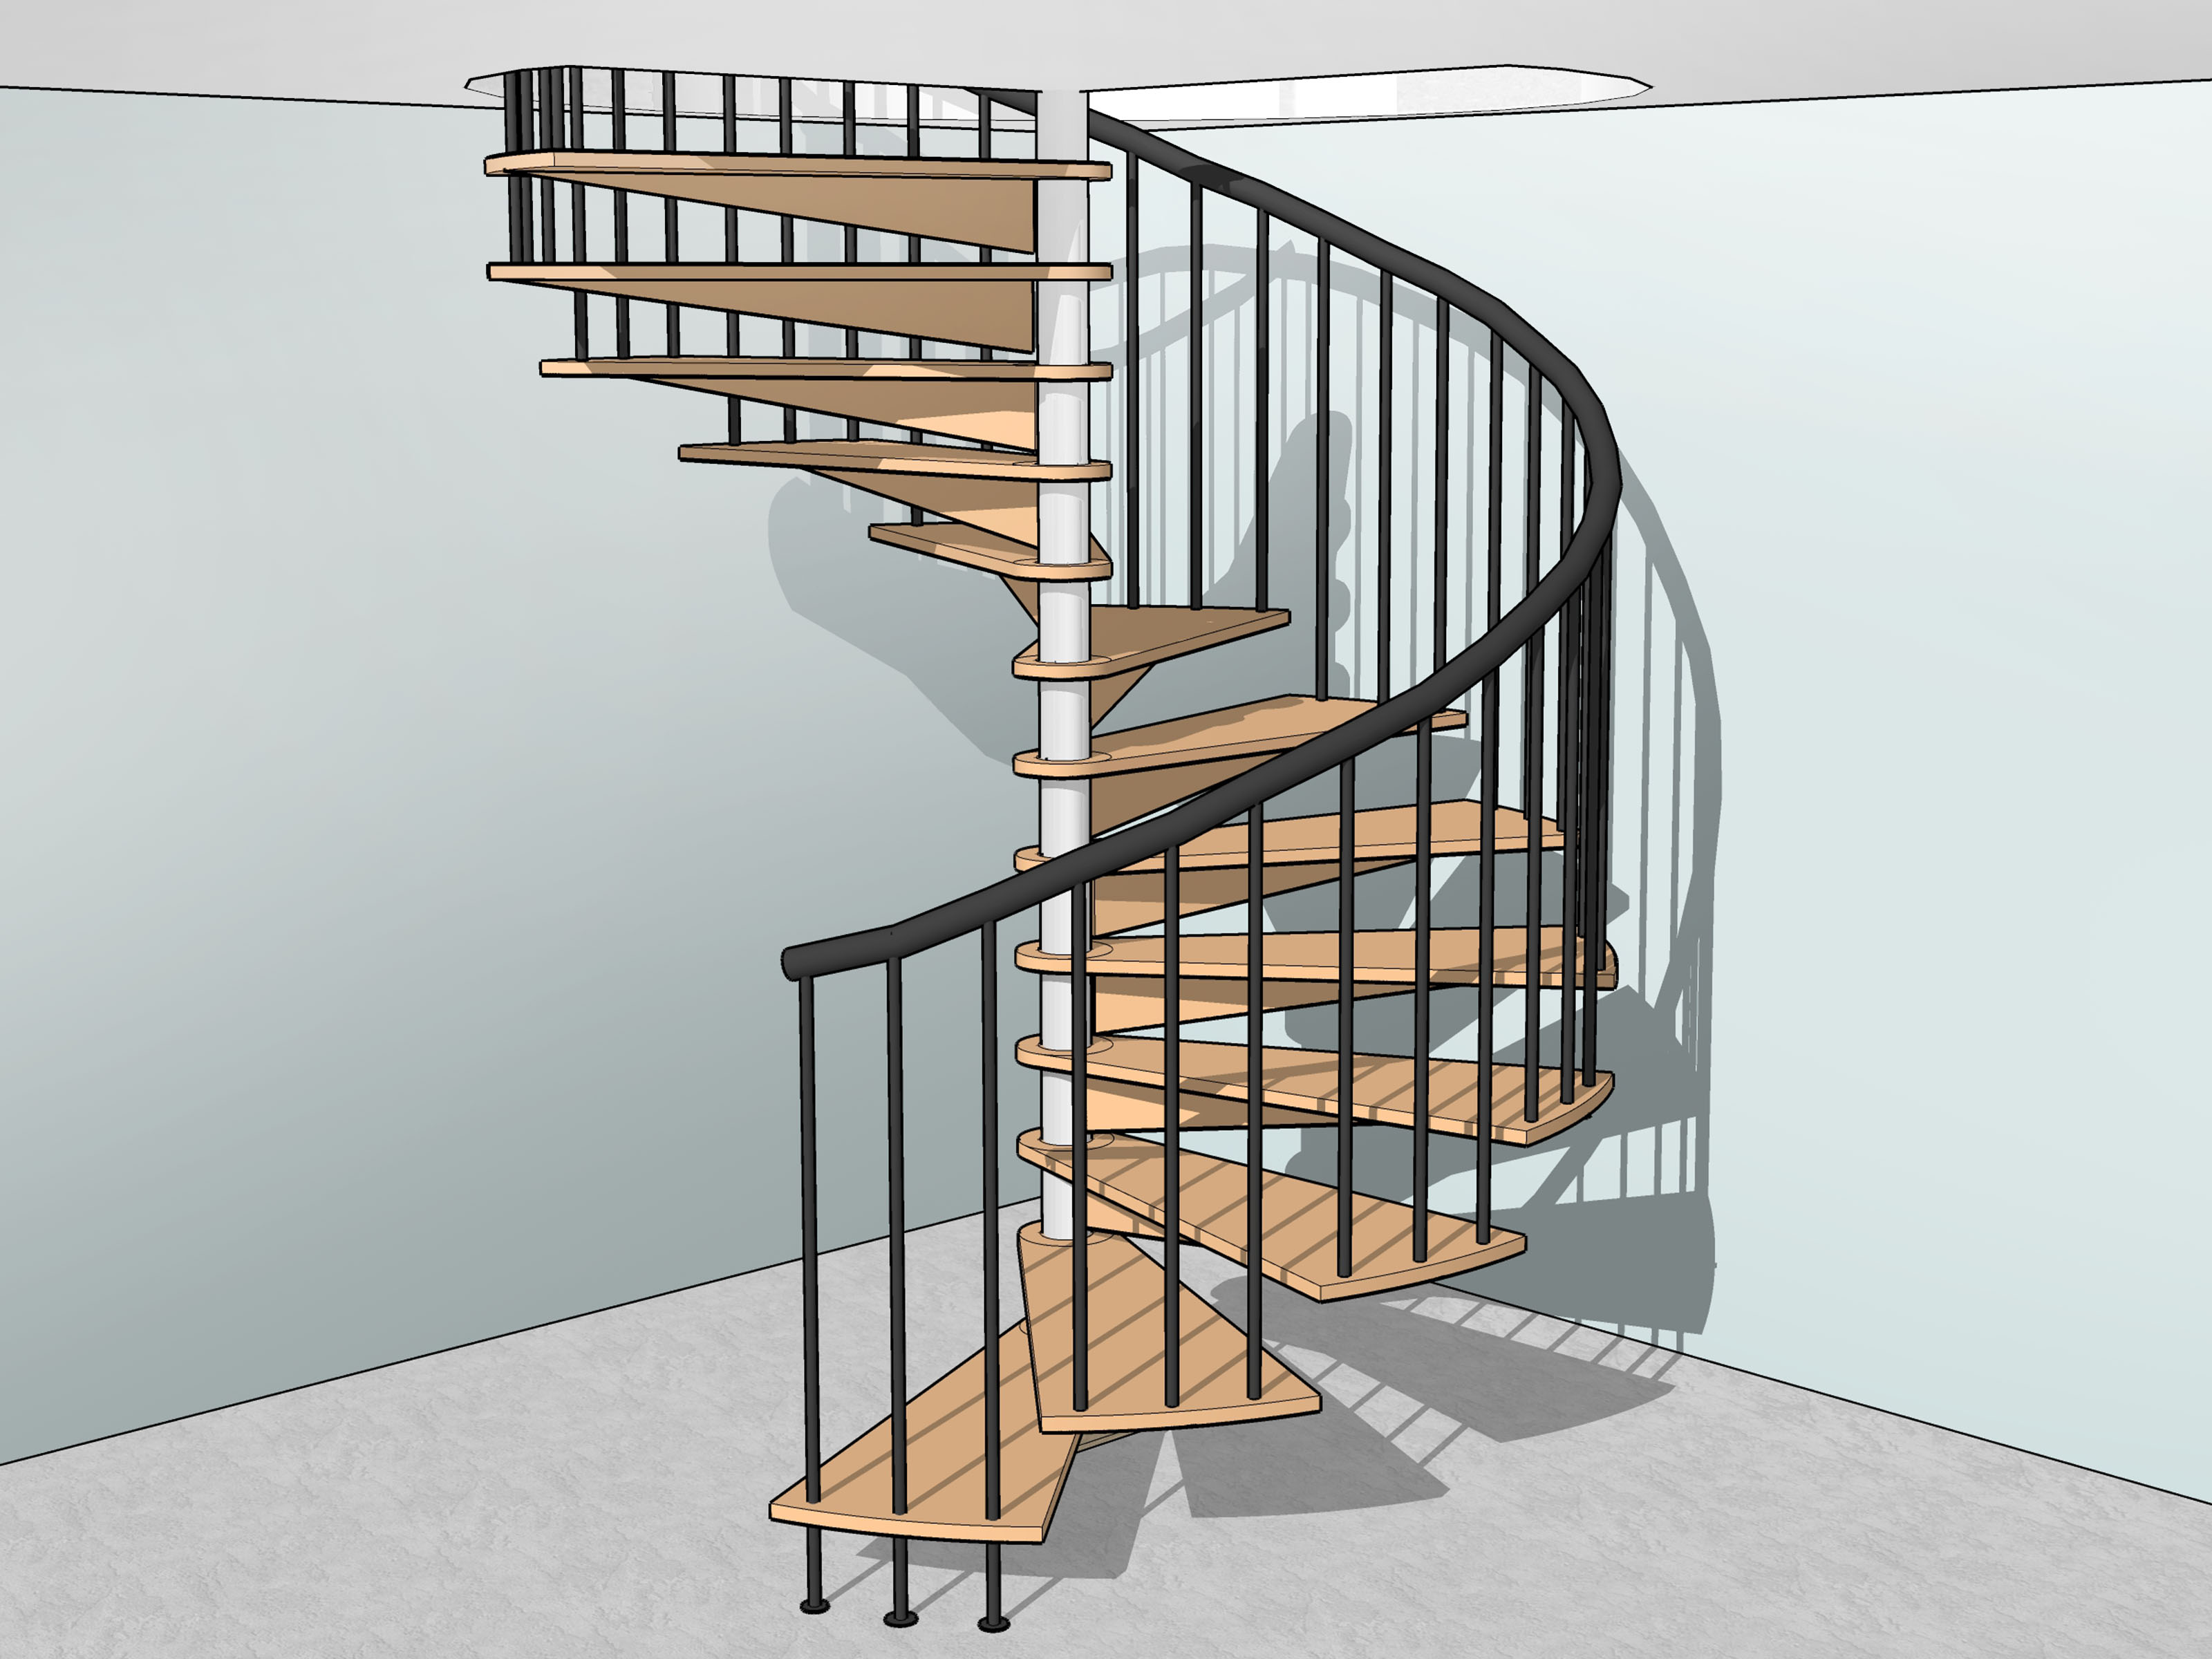
Tread assembly protocol: Install treads clockwise following numerical markings. Apply thread-locking compound on all fasteners and torque to 35 N•m uniformly. Perform bounce-test on each tread (max 3mm deflection under 200-lb load).
Critical Safety Checks
- Conduct torsional stress test: Apply 150-lb lateral force at handrail – maximum displacement should be ≤15mm
- Verify 4" sphere cannot pass through balusters (code compliance)
- Check all weld seams for penetration using magnetic particle testing
Post-Installation Optimization
Apply micro-adjustments to eliminate creaking: inject polyurethane foam between tread sleeves and center pole. Install anti-slip tape on tread noses (≥1" width) and conduct slip-resistance testing with DIN 51130 standard.