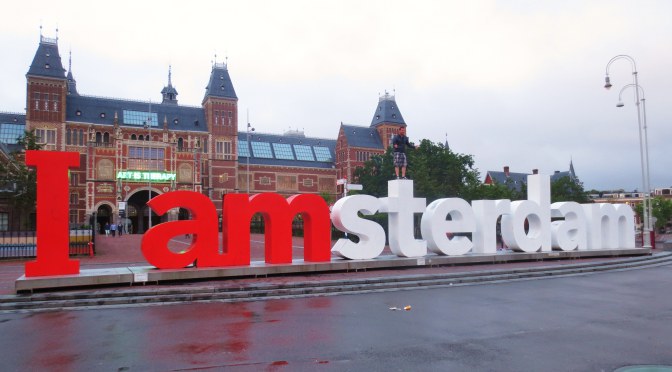
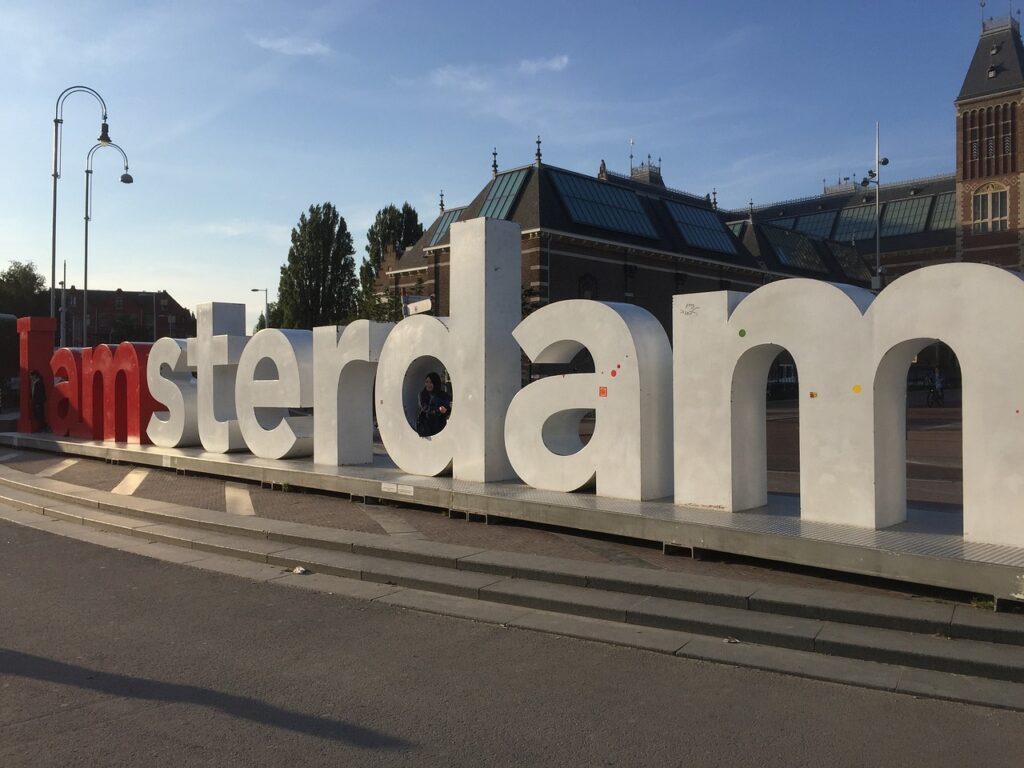
Once a iconic city symbol, the original large "I amsterdam" sign has been permanently removed from Museumplein. However, several smaller, permanent versions still exist throughout the city for visitor photos.
Finding the Smaller "I amsterdam" Signs
Current Locations:
- Schiphol Airport Arrivals Hall 2: Easily accessible upon landing or before departure.
- Amsterdamse Bos (Amsterdam Forest): Near the entrance by the Grote Vijver (Large Pond).
- Sloterplas Beach (Nieuw-West): Located near the beach area.
- NDSM Wharf (NDSM-plein): In the vibrant creative district north of the IJ river.
Getting There
To Schiphol Airport Sign:
- By Train: NS trains run frequently to Schiphol Airport from Amsterdam Central Station (Amsterdam Centraal), Zuid, and Rai stations (approx. 15-20 minutes). The sign is in Arrivals Hall 2, accessible airside only when departing or after landing.
- By Bus/Connexxion Shuttle: Various bus routes and airport shuttles connect the city to Schiphol terminals.
To Amsterdamse Bos:
- By Bike: Highly recommended (rentals widely available). Cycle paths lead directly there.
- By Bus: Bus 347 or 357 (get off at "Amsterdamse Bos" stop).
- By Car: Parking available near the Grote Vijver entrance.
To Sloterplas Beach:
- By Tram: Tram 13 (get off at "Sierplein"). Then walk towards the beach (~10 mins).
- By Metro: Metro line 50 (get off at "Slotermeer") followed by a short walk.
To NDSM Wharf:
- By Ferry: Free ferries depart from behind Amsterdam Centraal station (look for "NDSM" ferry). Take the ferry to NDSM-werf (~15 min ride), the sign is on NDSM-plein.
- By Bus: Bus 35 or 38 also serve NDSM, but the ferry is often faster/more scenic.
Capturing Perfect Pictures
Timing is Crucial:
- Sunrise/Sunset (Golden Hour): For warm, soft light and potentially fewer crowds, especially at popular spots like NDSM.
- Early Morning: Beat the biggest crowds at all locations.
- Weekdays: Generally less busy than weekends.
- Avoid Midday Harsh Sun: Creates strong shadows and washed-out colors.
Composition & Angles:
- Mix Close-ups & Wider Shots: Get shots focusing on the letters themselves and shots showing people interacting with the sign plus its surroundings.
- Low Angle: Shoot slightly upwards towards the sign to make it appear larger and include more sky.
- Get Creative with Letters: Use individual letters (e.g., sitting in the "M", peeking through the "O") for unique perspectives.
- Lead with Lines: Use paths, canals, or structures near the sign to lead the eye into the photo.
- Capture Interaction: Natural photos of people touching, leaning on, or jumping near the letters are lively.
- Consider Surroundings: Frame the sign with interesting backgrounds - airport architecture at Schiphol, water reflections at Sloterplas or NDSM, or the forest greenery at Amsterdamse Bos.
Practical Tips:
- Patience: Wait for gaps between groups if busy or politely ask if someone can take your photo.
- Dress for Weather: Be prepared for changing Amsterdam weather.
- Check Locally: Verify the specific sign location hasn't moved recently before traveling, especially for NDSM/Sloterplas.