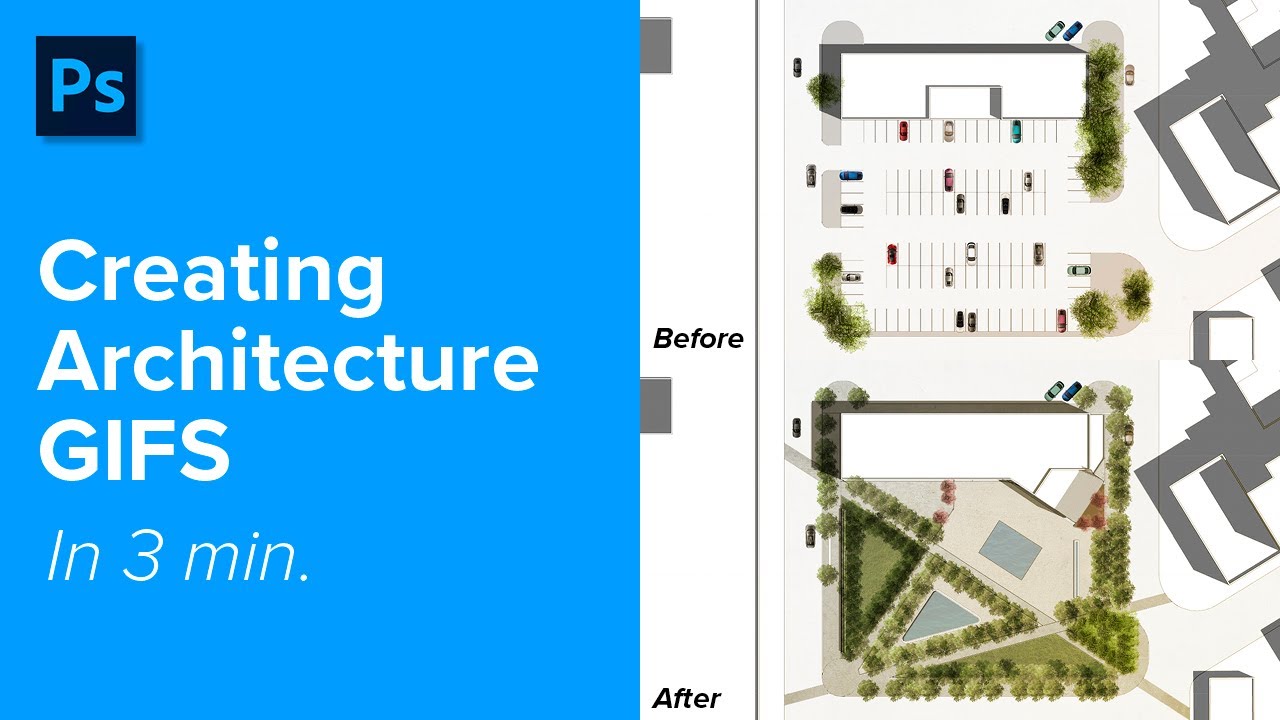
Creating compelling architecture GIFs involves visualizing sequential stills as an animated loop. Here's a streamlined workflow using accessible tools:
Essential Tools
- 3D Modeling/Rendering Software: Blender (free), SketchUp, Rhino+V-Ray/Enscape, Twinmotion, Lumion.
- Image Editor: GIMP (free), Photoshop, Affinity Photo.
- GIF Creation Tool: Built-in image editors, dedicated apps like ScreenToGif (free), or online converters.
Step-by-Step Process
1. Craft the Animation Source:
- Define Motion: Plan camera movement (orbit, walkthrough) or object transformation.
- Set Timeline: In your 3D software, set animation duration (typically 3-8 seconds for GIFs) and frame rate (15-24 fps).
- Render Frames: Export the animation as a sequence of PNG/TIFF files. Use RGBA format for transparency if needed. Avoid MP4/AVI output at this stage.
2. Post-Process Individual Frames (Optional but Recommended):
- Adjust brightness, contrast, saturation in batch using your image editor.
- Remove background elements using the alpha channel (if rendered with transparency).
- Add labels, diagrams, or filters consistently across all frames.
3. Compile Frames into GIF:
- Import Sequence: Open your GIF tool. Select "Import" or "Create from Images" and load your frame sequence in order.
- Set Timing: Adjust frame delay (e.g., 0.06s for ~16fps, 0.04s for ~25fps). Longer delays = slower animation.
- Configure Looping: Select "Loop" or "Repeat Forever".
- Optimize Colors: Reduce color palette (256 colors max). Use dithering to minimize banding.
4. Export & Review:
- Export as GIF. Choose optimized settings for web viewing.
- Preview the final GIF. Check loop smoothness, speed, and visual quality. Adjust frame delay if necessary.
Key Considerations for Quality
- Resolution: Keep width/height moderate (e.g., 800-1200px). Larger dimensions increase file size drastically.
- Color Palette: Limit colors to 256 or fewer to control file size. Use global optimization.
- Transparency: Utilize PNG alpha channel during rendering for clean compositing over backgrounds.
- Storyboard First: Sketch camera paths and motion to ensure clarity before rendering.
- Batched Processing: Automate repetitive edits like color grading across all frames.