Constructing a concrete gallery requires careful planning and execution. Follow these fundamental steps:
Planning & Preparation
Design & Dimensions: Define the gallery's size (length, width, height) and layout. Check local building codes for permits and requirements.
Site Selection & Clearing: Choose stable, level ground. Clear vegetation, rocks, and debris. Excavate to required depth, considering frost lines if applicable.
Materials & Tools: Gather concrete mix, rebar/mesh, formwork lumber/bracing, compactable base material, tools (shovel, wheelbarrow, level, trowel, float, concrete vibrator (if possible)).
Building the Foundation
Footings:
- Dig trenches below frost depth as per code.
- Compact soil. Add a layer of gravel, compact again.
- Install rebar cage within trench forms. Pour concrete, vibrate to remove air pockets.
Slab Base:
- Lay and compact a gravel base (6-8 inches) within the gallery area.
- Install vapor barrier over gravel.
- Place welded wire mesh or rebar grid on supports (chairs) for reinforcement.
Building the Walls
Formwork Assembly:
- Construct strong, rigid forms using plywood and sturdy lumber. Ensure forms are plumb and braced securely to withstand concrete pressure.
- Apply form-release oil to inner surfaces.
Placing Wall Reinforcement: Position vertical rebar dowels extending from footings/slab into the wall forms. Install horizontal rebar/wire mesh inside the forms, tying it securely to vertical bars.
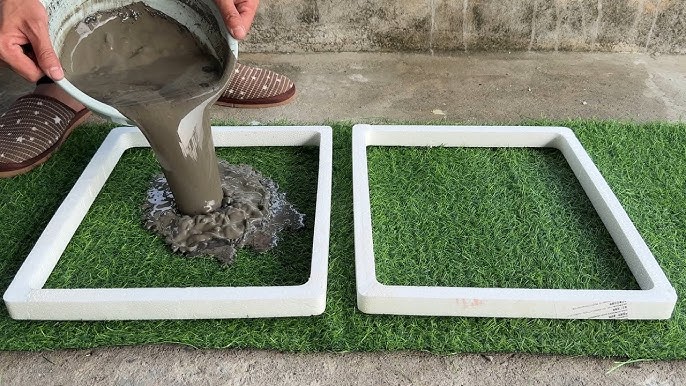
Pouring Concrete:
- Pour concrete in lifts (layers), not exceeding 18-24 inches high per lift.
- Consolidate concrete thoroughly with a vibrator after each lift to eliminate voids and honeycombing.
- Work continuously around the form to minimize cold joints.
Finishing & Curing
Stripping Forms: Allow concrete to set sufficiently (typically 24-48 hours). Carefully remove forms without damaging concrete edges.
Curing: Keep concrete moist for a minimum of 7 days. Use water spraying, curing blankets, or plastic sheeting. Proper curing is critical for strength and durability.
Waterproofing & Backfilling: Apply waterproofing membrane to exterior walls once cured. Backfill carefully in layers, compacting lightly against the walls.
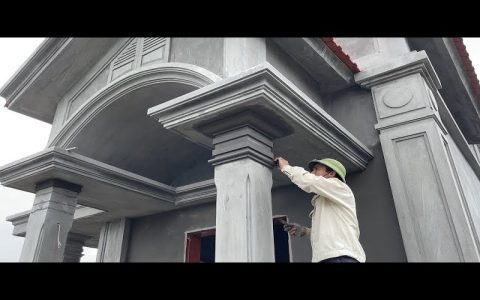
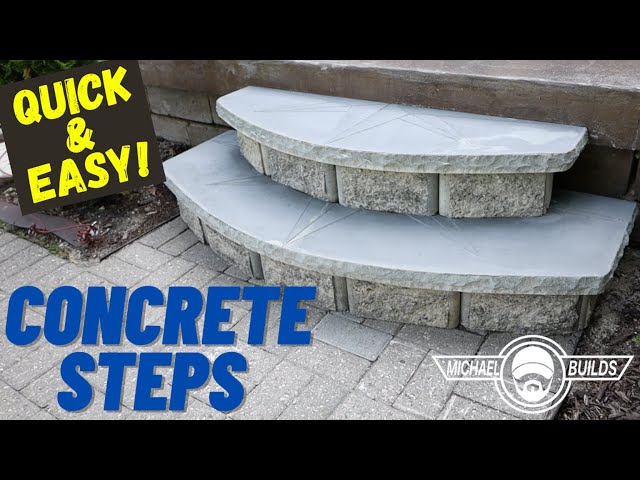
Finishing Touches: Apply desired interior wall finishes (plaster, paint, etc.). Install lighting, displays, flooring, and roofing as per your design.

Key Considerations: Safety gear (gloves, goggles, boots) is mandatory. Ensure formwork bracing is extremely robust – concrete is heavy. Control joints in the slab and walls are essential to manage cracking. Seek expert advice for complex designs or load-bearing requirements.