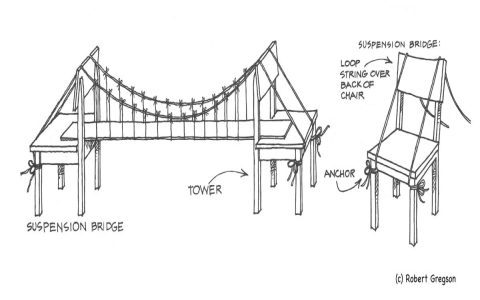
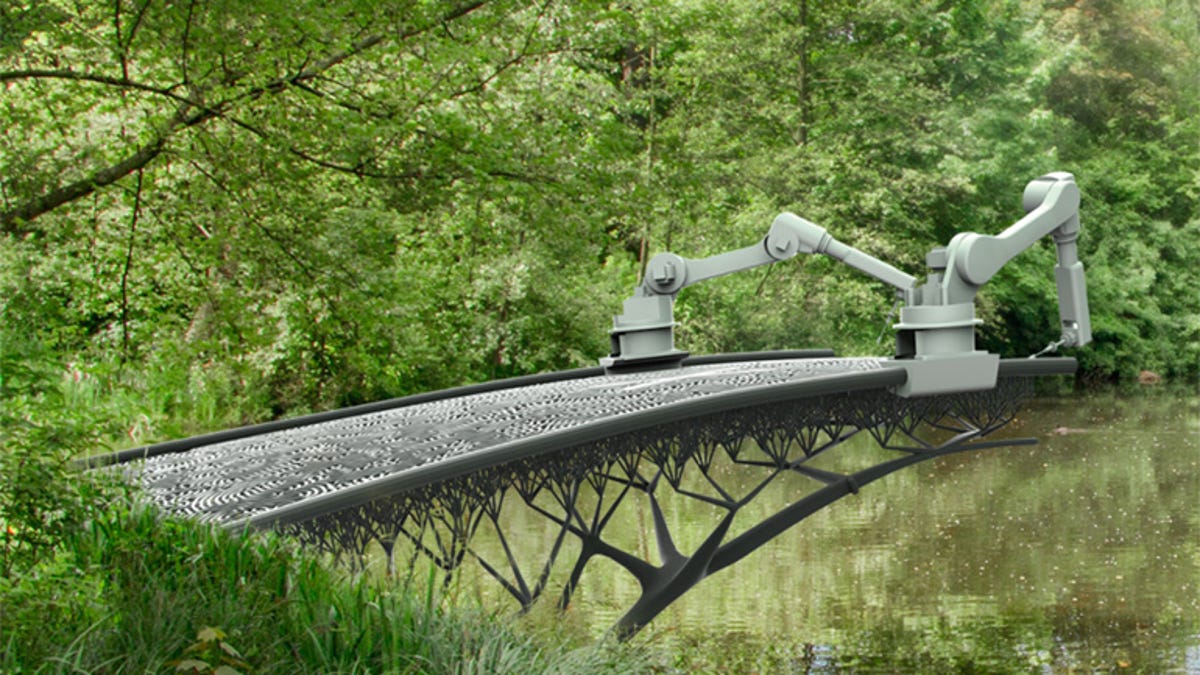
Building 3D printed bridges requires careful planning, material selection, and an understanding of structural principles. Here’s a concise 5-step approach:
1. Design & Structural Planning
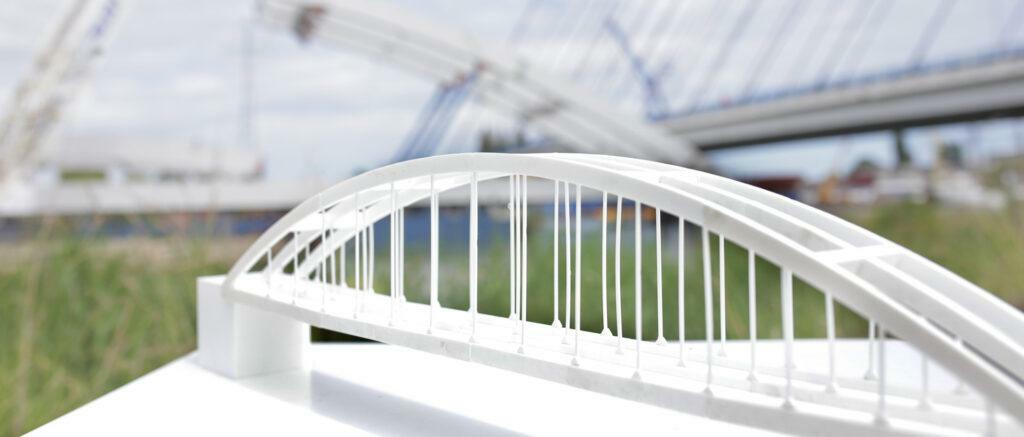
Start with CAD software to create your bridge model. Prioritize truss or arch designs for inherent strength. Calculate anticipated loads and ensure critical joints and spans have adequate cross-sections and reinforcement zones. Optimize topology for minimal material use while meeting stress requirements.
2. Select Appropriate Material
Use engineering-grade filaments with high stiffness and layer adhesion:
- PLA+: Good stiffness, easy printing
- PETG: Improved toughness & flexibility
- Nylon/Carbon Fiber: High strength-to-weight ratio (advanced)
Avoid brittle materials unless specifically reinforced.
3. Print Orientation & Settings
Orient components to minimize stress on layer lines. Use:
- 100% infill for load-bearing members
- 6+ perimeters on vertical elements
- 0.1-0.2mm layer height
- Increased extrusion temperature (+5-10°C) for layer bonding
Employ gradual infill densification near connection points.
4. Post-Processing & Assembly
Remove supports carefully to prevent micro-fractures. Apply solvent welding (e.g., Dichloromethane for ABS) or epoxy resin at joints for structural continuity. Align components using precision jigs before bonding. Reinforce high-shear zones with internal pins/rods if required.
5. Validation Testing
Perform incremental load testing with calibrated weights. Monitor deflection with dial indicators or laser sensors. Stop at 1.5x-2x design load or when exceeding deflection limits. Document failure modes for redesign iterations on critical sections.
Remember: 3D printed bridges require conservative safety margins due to anisotropic material properties. Prioritize redundant load paths in your design.