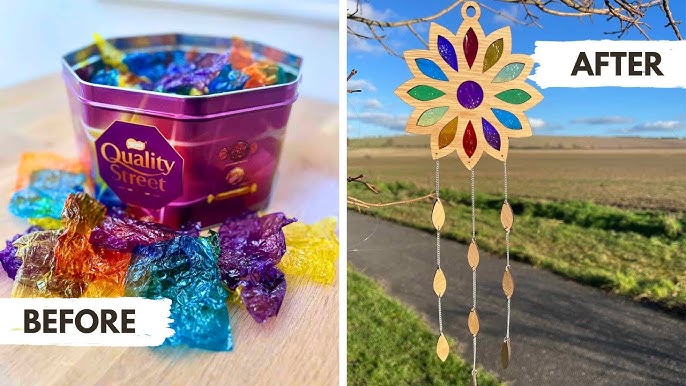
Elevate your DIY wrapper projects with these three focused techniques for precision, strength, and efficiency.
1. Master Template Tracing for Flawless Shapes
Ditch imprecise measurements. Create reusable templates from stiff cardstock for consistent wrapper profiles.
- Trace onto wrapping material using a fine-tip marker for sharp, accurate outlines.
- Cut inside the traced line with sharp craft knives or scissors to ensure no residual marks are visible.
This eliminates irregular edges and guarantees uniform shape replication across multiple wrappers.

2. Implement Laminated Paper Reinforcement
Prevent common material buckling or creasing where the wrapper folds.
Identify high-stress areas (bottom flaps, side seams). Cut thin strips of sturdy paper slightly narrower than the fold lines.
- Apply adhesive sparingly to one side.
- Press firmly onto the backside of the wrapper at critical fold zones.
Reinforcements drastically increase durability without visible bulk.
3. Utilize the Score-and-Fold Technique
Achieve crisp, professional-looking folds every time.
- Mark fold lines lightly with a pencil using a ruler.
- Score along marked lines using a blunt stylus or the back of a craft knife under light pressure.
Fold carefully along the scored line. This creates a precise, clean crease by pre-weakening the material fibers exactly where you need the bend.

Prevents ragged edges and ensures geometric accuracy for boxes or intricate shapes.


