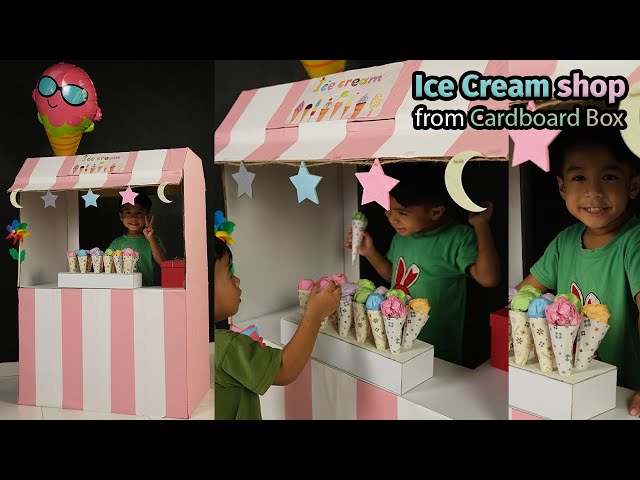
Designing a small DIY ice cream shop requires careful planning, prioritizing efficiency, safety, and customer appeal. Focus on simplicity and functionality.
Key Planning & Layout
Analyze Needs: Define core offerings (e.g., scoops, toppings, cones, shakes). Keep the menu focused initially.
Space Requirements:
- Customer Area: Counter (approx. 24-30" deep, height 42" ADA front), clear queue space (min. 6ft depth).
- Production Area: Work table (minimum 24x48"), storage for containers, cones, toppings.
- Storage: Under-counter fridge/freezer (critical for ingredients/cold storage), dry goods shelving.
- Point of Sale (POS): Small counter-top terminal area.
- Optional Prep: Small sink area if possible (strongly recommended).
Zoning: Create distinct zones – Customer-Facing (Counter, Display) and Back-of-House (Prep, Storage). Minimize staff movement distances.
Essential Equipment (DIY Focus)
- Dipping Cabinets: The core investment. Ensure reliable temperature control (0°F to -10°F). 1-2 under-counter units may suffice initially. Visible front panels showcase product.
- Refrigeration: Under-counter fridge for syrups, perishables. Freezer for backup product (reach-in or chest).
- Work Table: Stainless steel recommended. Size based on space; incorporate storage underneath.
- Toppings Station: Use refrigerated inserts within the counter for wet toppings. Utilize smaller containers or rail systems above the counter for dry toppings.
- Scooping System: Keep sanitizing wells embedded in the countertop filled with water above 170°F. Provide dedicated scoop holders.
- Sinks: A dedicated 3-compartment sink (Wash, Rinse, Sanitize) is optimal. A small 1-compartment sink with dedicated wash/sanitize buckets is the absolute minimum.
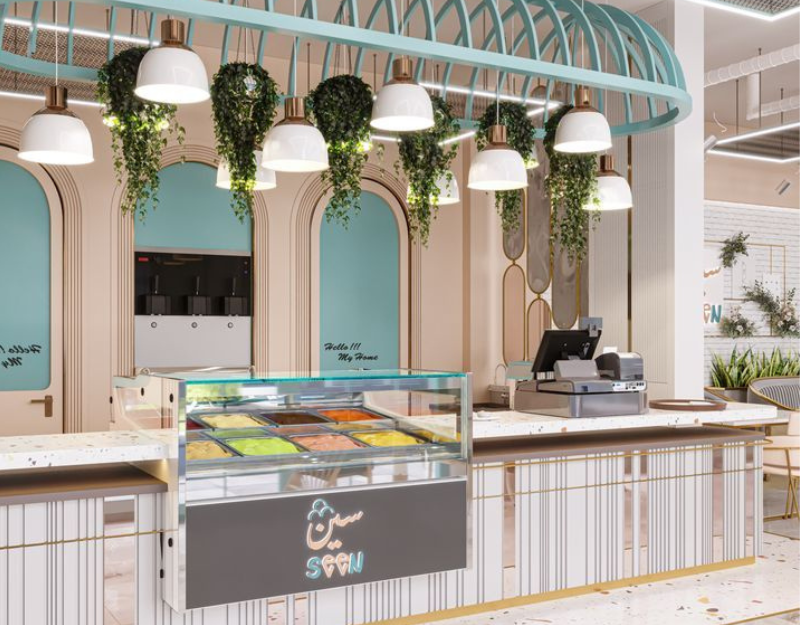
Design Elements & Branding
Counter Design:
- Durable material – stainless steel, solid surface, high-quality laminate.
- Integrate the dipping cabinets seamlessly.
- Visible toppings and serving ware enhance appeal.
Color & Materials: Use bright, cleanable surfaces. Light colors make small spaces feel larger. Accent with brand colors.
Lighting:
- General Ambient: Sufficient overall brightness.
- Task Lighting: Essential over work surfaces.
- Feature Lighting: Focus on the ice cream itself – internal dipping cabinet lights.
Signage & Graphics: Create clear, eye-catching signage with your brand logo, menu board (easily changeable pricing).
Essential Final Steps
- Compliance: Consult local authorities regarding permits for food service retail and health codes (critical for sinks, temperature logs, etc.).
- Storage: Optimize vertical space. Keep inventory low but adequate. Organize tools efficiently.
- Simplicity First: Prioritize smooth workflow over elaborate decor. Cleanliness and efficient service are paramount.
- Test Flow: Simulate service scenarios with staff to ensure the design works before finalizing.