Capture stunning photos during your AT&T Sony Building visit with this strategic guide.
Preparation Essentials
Gear selection: Prioritize wide-angle lenses (16-35mm recommended) for architectural scale. Pack a fast prime (f/1.8 or wider) for low-light interiors and creative bokeh. A sturdy tripod is non-negotiable for long exposures in dimmer areas.
Technical settings: Shoot RAW. Set base ISO (100-400) for daytime exteriors; boost to 1600-3200 for interiors. Use aperture priority (f/8-f/11) for overall sharpness. Enable histogram preview to avoid blown highlights.
Composition Techniques
- Symmetry mastery: Align with building grids for powerful geometric shots – central staircases and atrium railings offer perfect leading lines.
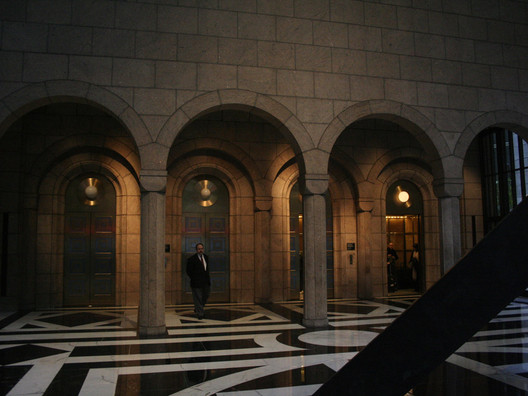
- Frame within frame: Use archways, window reveals, or structural beams to layer compositions and add depth.
- Human element: Incorporate visitors strategically for scale against the architecture – silhouette shots work exceptionally well near light wells.
- Reflection play: Seek polished surfaces (marble floors, glass partitions) for inverted perspectives and dynamic abstracts.
Prime Shooting Locations
Ground floor atrium: Position centrally beneath the oculus for dramatic upward shots. Capture light beams in late morning.
Mid-level terraces: Shoot downward for layered depth-of-field compositions showing multiple floors. Ideal during golden hour.
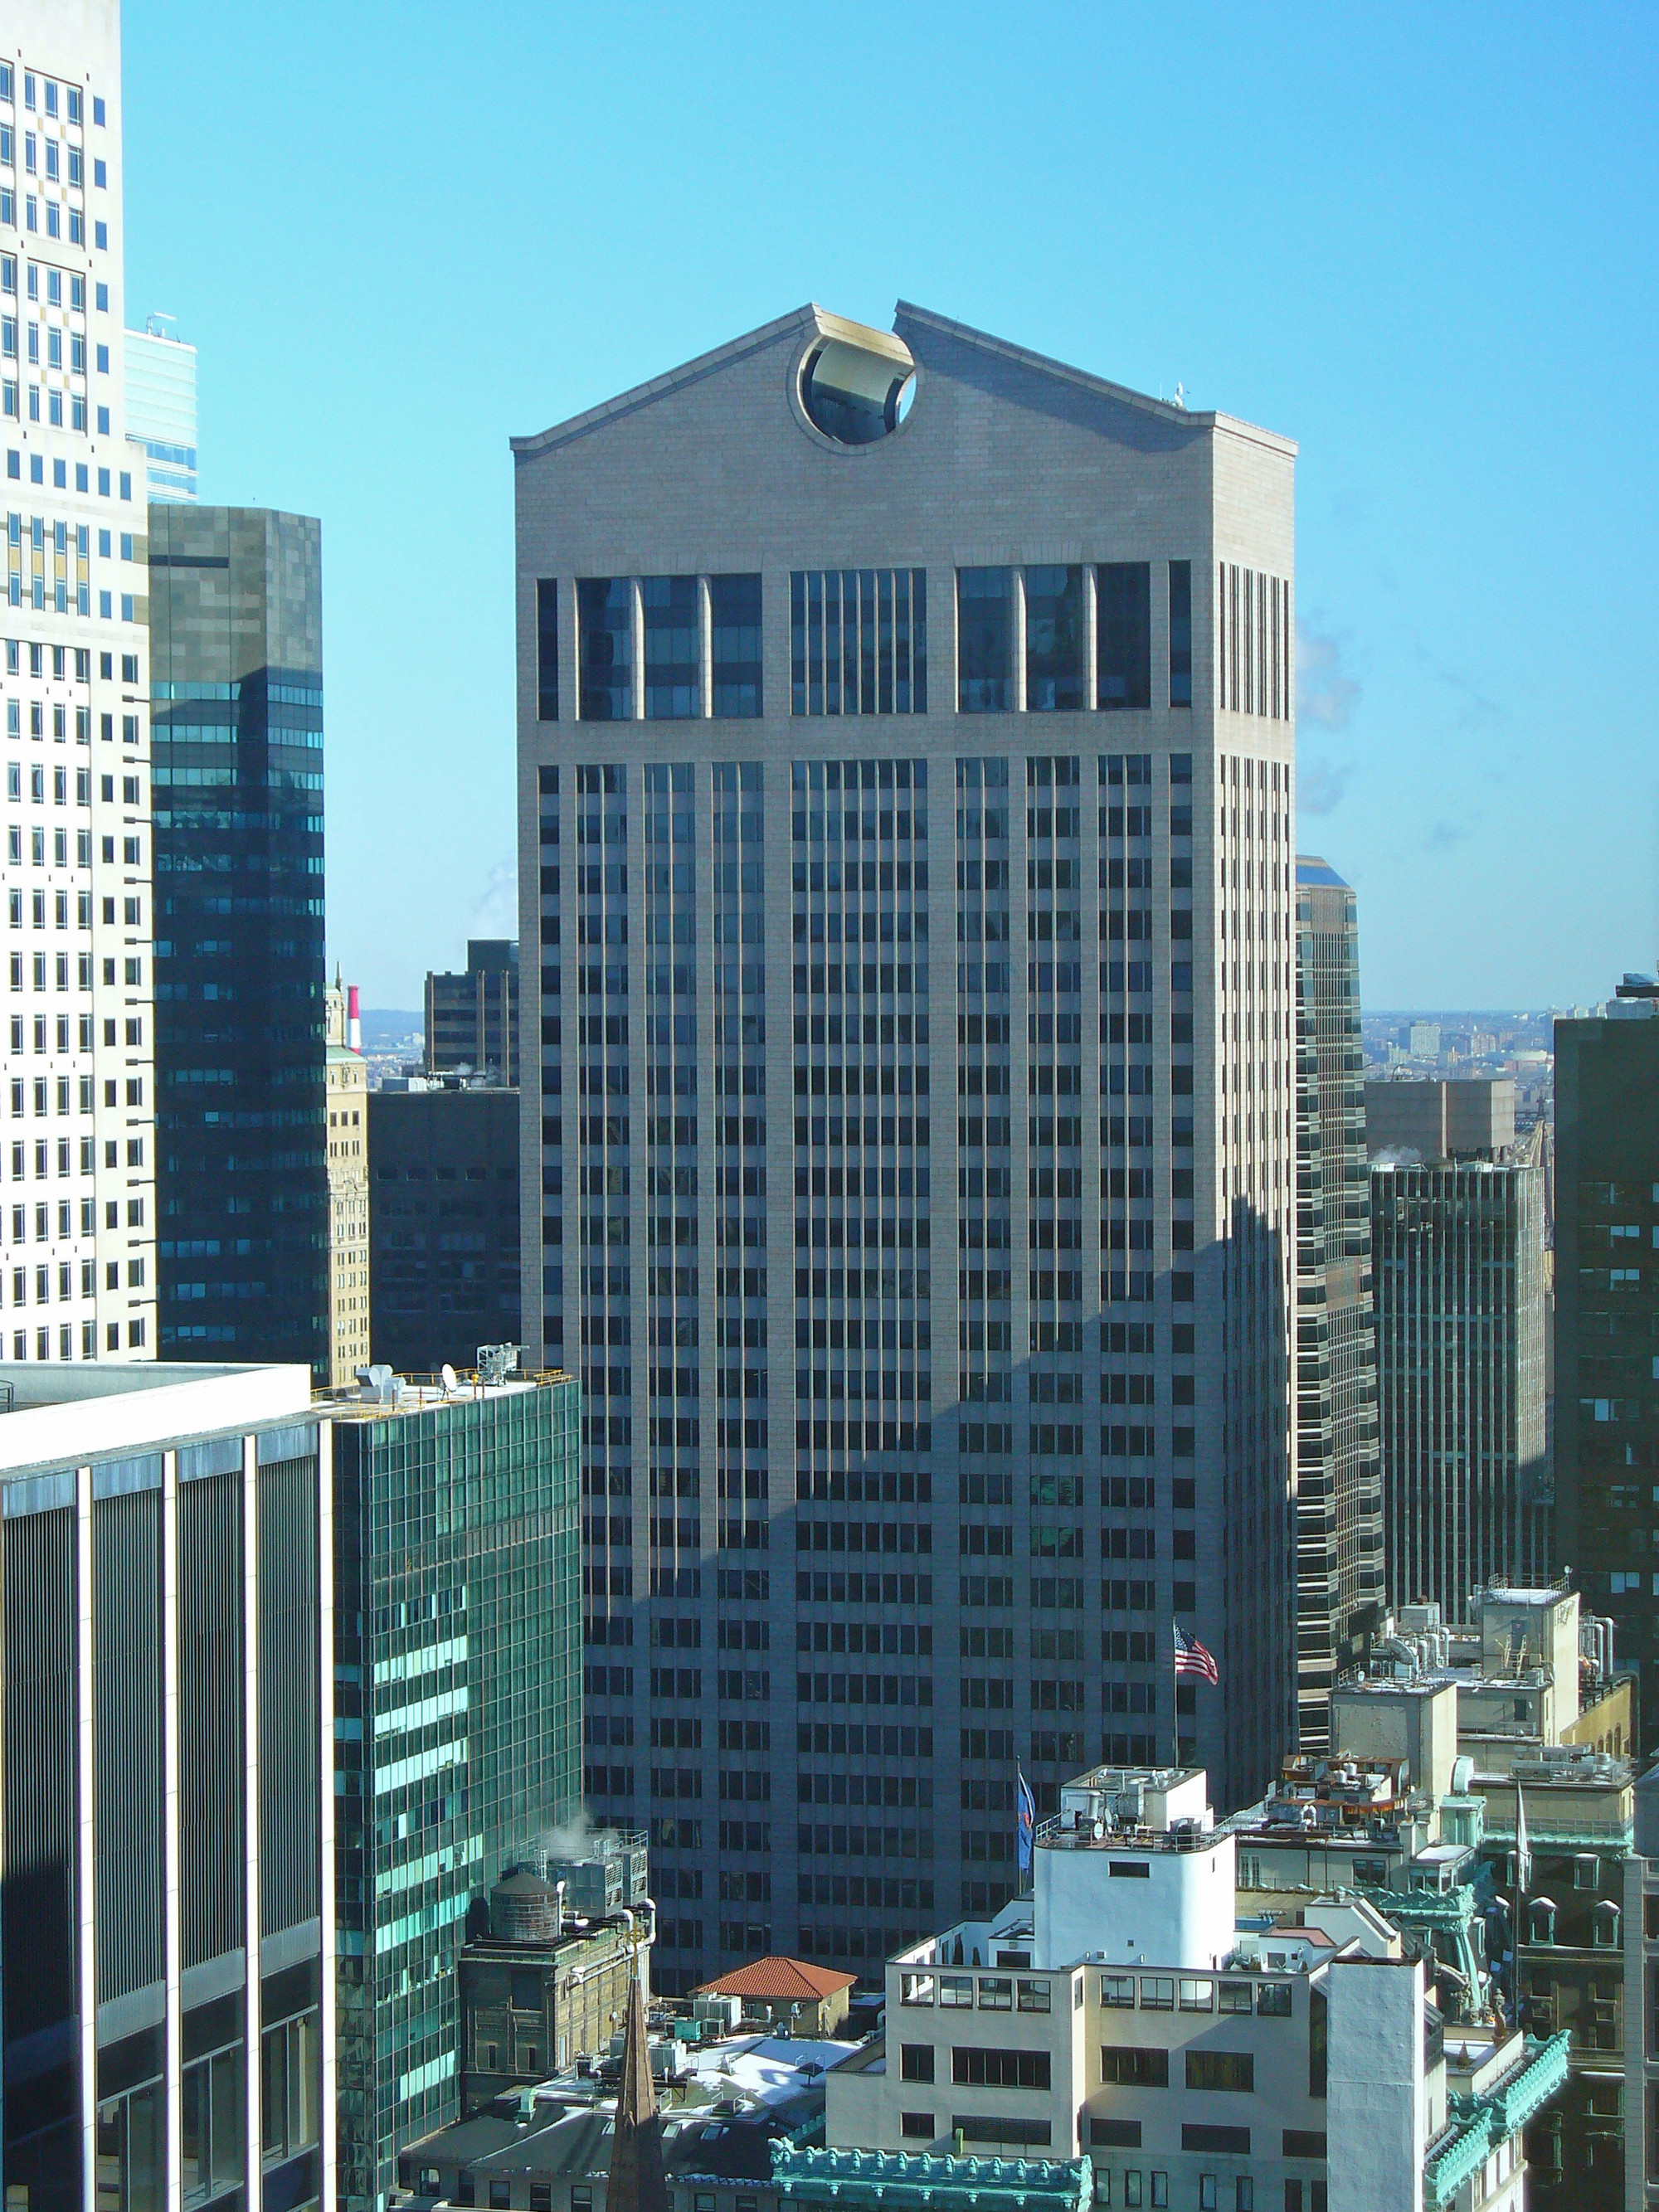
Exterior angles: Frame the building against skyline elements at twilight for silhouette-contrast shots. Use polarized filters to manage reflections on glass facades.
Lighting Strategy
Blue hour priority: Schedule arrival 45 minutes pre-sunset. Blend interior artificial lighting with twilight glow through windows for balanced exposure.
High-ISO bracketing: In mixed-light zones, bracket exposures (±2 stops) to preserve shadow/highlight detail. Merge later in post.
Light painting: In darker corridors, use a focused LED panel to selectively illuminate textures on concrete or metal surfaces (tripod essential).
Post-Processing Protocol
- Correct vertical lines first: Apply lens profile corrections then manual vertical/horizontal adjustments in Lightroom/Capture One.
- Targeted luminosity masks: Separate adjustments for interior/exterior zones using gradient filters. Boost clarity/texture selectively on architectural details.
- Color grading: Emphasize cool tones in shadows (blues/teals) with warm highlights (oranges/ambers) for cinematic contrast. Desaturate distracting hues.