Creating a 3D printed hat requires selecting a suitable design, preparing the model, printing it, and finishing with minor adjustments. This guide covers essentials for beginners.
Step 1: Select or Design a Hat Model
Begin by choosing a hat design from a reliable 3D model repository, focusing on free options for simplicity. Key considerations include:
- Model size: Adjust the hat circumference to match average head measurements (approximately 55-60 cm for adults).
- Geometry: Opt for models with minimal overhangs to reduce support needs.
- Material compatibility: Ensure the design works with common filaments like PLA or PETG for durability.
Use beginner-friendly CAD software if designing your own, but start with pre-made files to save time.
Step 2: Prepare the Model for Printing
Import the model into slicing software (e.g., Ultimaker Cura or PrusaSlicer). Key adjustments:
- Scale uniformly to fit head size using the measurement tool.
- Set print orientation to minimize support requirements, typically with the brim facing upward.
- Add necessary supports and rafts for stability; enable brim to prevent warping.
Export the sliced file to G-code format before proceeding.
Step 3: Configure Printer Settings
Calibrate your 3D printer to ensure precision. Critical settings:
- Filament: Load PLA or PETG filament and set temperature (e.g., 200-220°C for PLA).
- Layer height: Start with 0.2 mm for balance between speed and detail.
- Infill density: Use 10-20% for lightweight hats, and enable cooling fans.
Perform a test print to verify bed leveling and adhesion, avoiding common failures.
Step 4: Execute the Print
Begin printing with active monitoring. Follow best practices:
- Ensure the print bed is clean and leveled before starting.
- Observe the first layer for adhesion issues; pause if layer shifts occur.
- Allow completion without interruptions, typically requiring several hours based on size.
Keep the printer in a well-ventilated area during this phase.
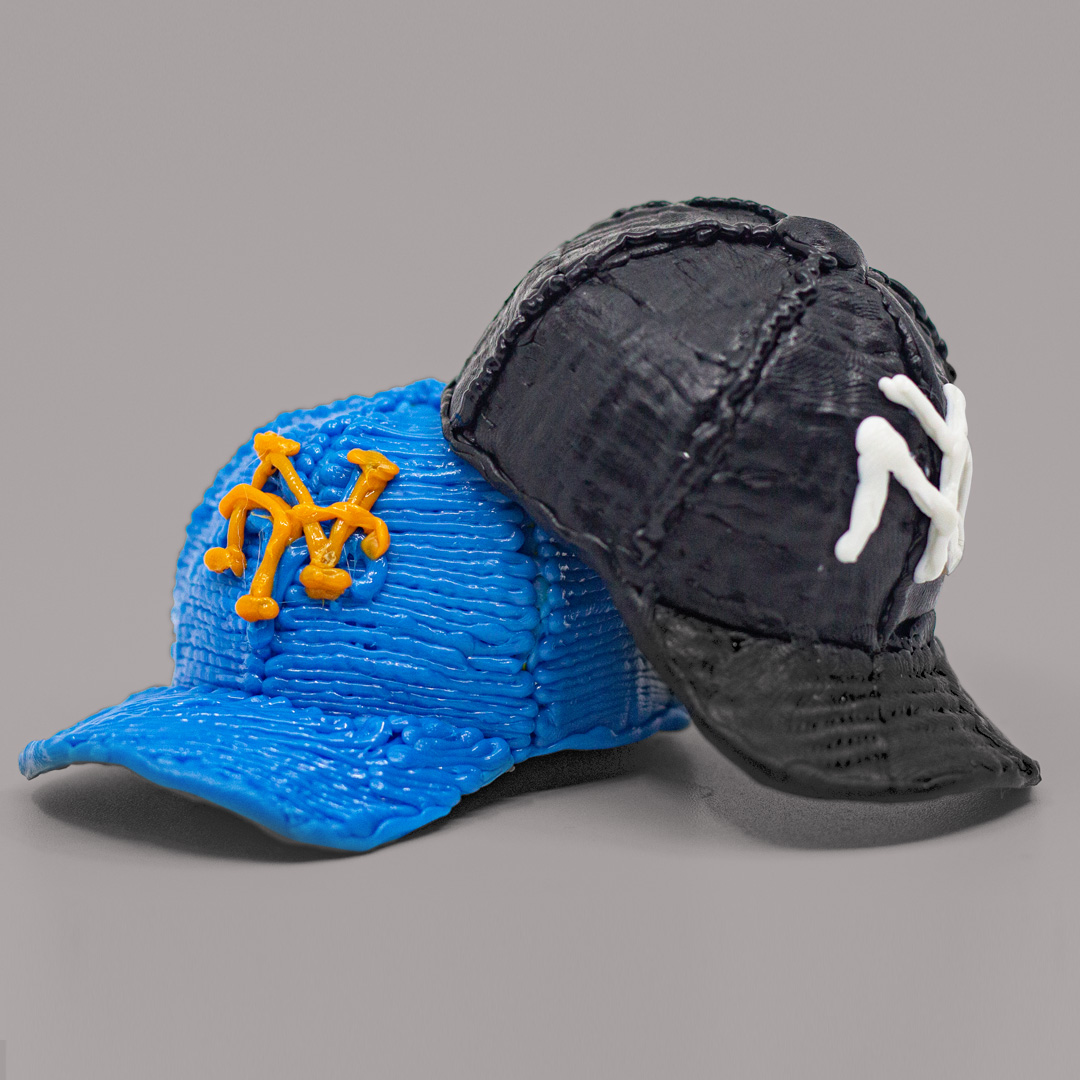
Step 5: Post-Process the Hat
Remove the printed hat carefully after cooling. Focus on:
- Support removal: Use pliers or cutters to detach supports without damaging the hat.
- Cleaning: Sand surfaces with fine grit (220+) to smooth edges and improve comfort.
- Finishing: Optionally paint or seal the hat for weather resistance if desired.
Check fit and comfort before regular use.