To enhance wall strength with unique brickwork, focus on interlocking patterns that distribute load evenly. This DIY guide prioritizes structural integrity through precise execution.
Essential Materials and Tools
Gather:
- Bricks: High-quality concrete or clay bricks suitable for bonding.
- Mortar: Type N or S cement-based mix for superior adhesion.
- Tools: Masonry trowel, level, measuring tape, safety glasses, and gloves.
Planning the Interlocking Pattern
Design a unique bond like English cross or Flemish variations. Create a scaled sketch to ensure bricks overlap vertically and horizontally, reinforcing joints.
DIY Installation Steps
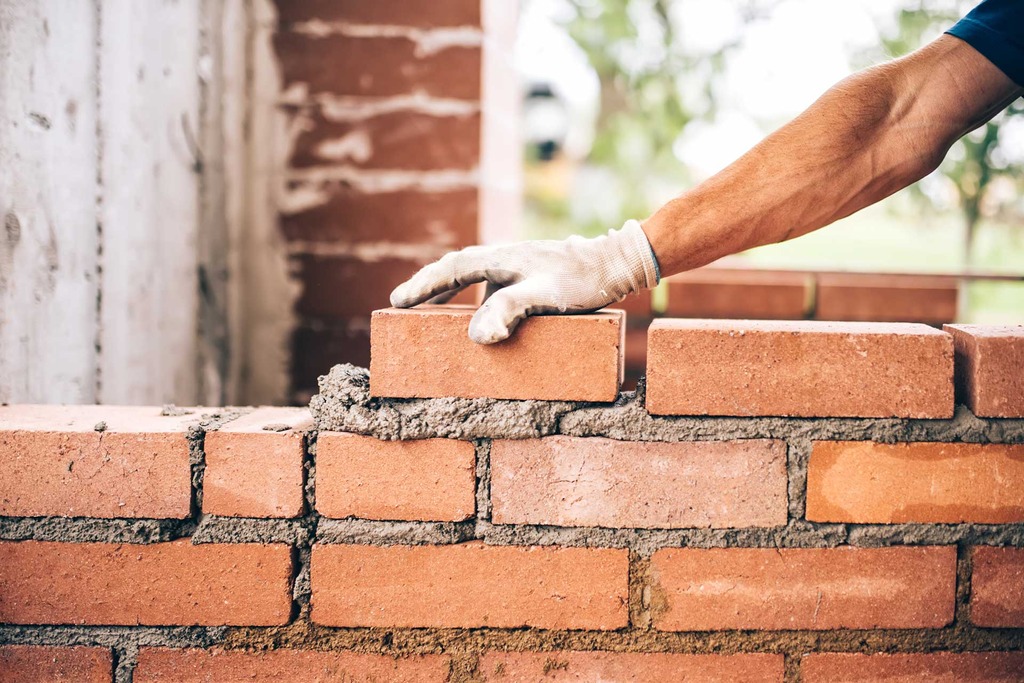
- Step 1: Prepare the Base Level the foundation with compacted gravel or concrete to prevent settling.
- Step 2: Lay the First Course Apply a thin mortar bed; set bricks in your pattern, using a string line for straight alignment.
- Step 3: Add Mortar Consistently Spread mortar evenly at 10mm thickness; avoid voids that weaken joints.
- Step 4: Check Alignment Frequently Verify horizontality with a level every few courses; adjust for errors immediately.
- Step 5: Reinforce Corners and Edges Use corner ties or embedded metal straps for extra rigidity.
- Step 6: Cure Thoroughly Mist mortar lightly for 3-7 days to achieve full strength; avoid load during this period.
Reinforcement Best Practices
Install control joints every 2m to manage cracking, and pre-soak bricks to reduce mortar absorption. Seal cured walls with waterproofing agents.